Laravel Forge

Published on Sun Aug 01 2021
This guide covers the action steps for deploying an AdonisJS application to Laravel Forge .
Deploying an AdonisJS application is no different from deploying a standard Node.js application. You just have to keep a few things in mind:
- You build your TypeScript source to JavaScript, before deploying the app.
- You will have to start the server from the
buildfolder and not the project root. Same is true for running migrations any other Node.js apps.
You can build your project for production by running the following ace command. Learn more about the TypeScript build process
node ace build --production

# OR use the npm script
npm run build
Create a Server
Select your preferred provider and create a server
Once server is ready . Create a database user (optional)
Create Database user
on your server's side menu select Database
- Navigate to Add Database User
- Enter a username and password , also you can select this user Can Access which databases
- keep your credentials in a safe place and use them in .env
Create a Site
When you create a server on forge , we need to create a site ,
- Define the
Root Domainwith your API desired domain , i.e staging.api.yourdomain.com. - Select Static HTML as your project type.
- Check
Create Databaseif you want to create a database for your app , and select a Database Name.

Configure Your Deployment script and Git settings
Deploy Script is the commands that are executed when you push a commit to your pre-defined branch . in our case for Adonisjs we need to access the app folder -> then pull the changes -> run some commands for migration and build process .
"Quick Deploy" feature allows you to easily deploy your projects when you push to your source control provider. When you push to your configured quick deploy branch, Forge will pull your latest code from source control and run your application's configured deployment script. You can enable Forge's quick deploy feature by clicking the "Enable Quick Deploy" button within the Apps tab of your site's management dashboard.
for Development
cd /home/forge/staging.api.yourdomain.com

git reset --hard;

git clean -df;

git pull origin $FORGE_SITE_BRANCH

# migrate database
node ace migration:run --force

# install npm dependencies
 yarn

# reload pm2
pm2 reload all --update-env
keep in mind that for the very first time you need to run pm2 start command on your server , then the deployment script will reload it when triggred.
example how to run pm2 on server for the first time
pm2 start yarn --name api -- dev
for Production
cd /home/forge/staging.api.yourdomain.com

git reset --hard;

git clean -df;


git pull origin $FORGE_SITE_BRANCH

#migrate database
node ace migration:run --force
# install npm dependencies
 yarn
# Run Build command
node ace build --production

# Copy env files
cd /home/forge/staging.api.yourdomain.com/build
yarn install --production
cp ../.env ./.env
# reload pm2
pm2 reload all --update-env
Git Settings
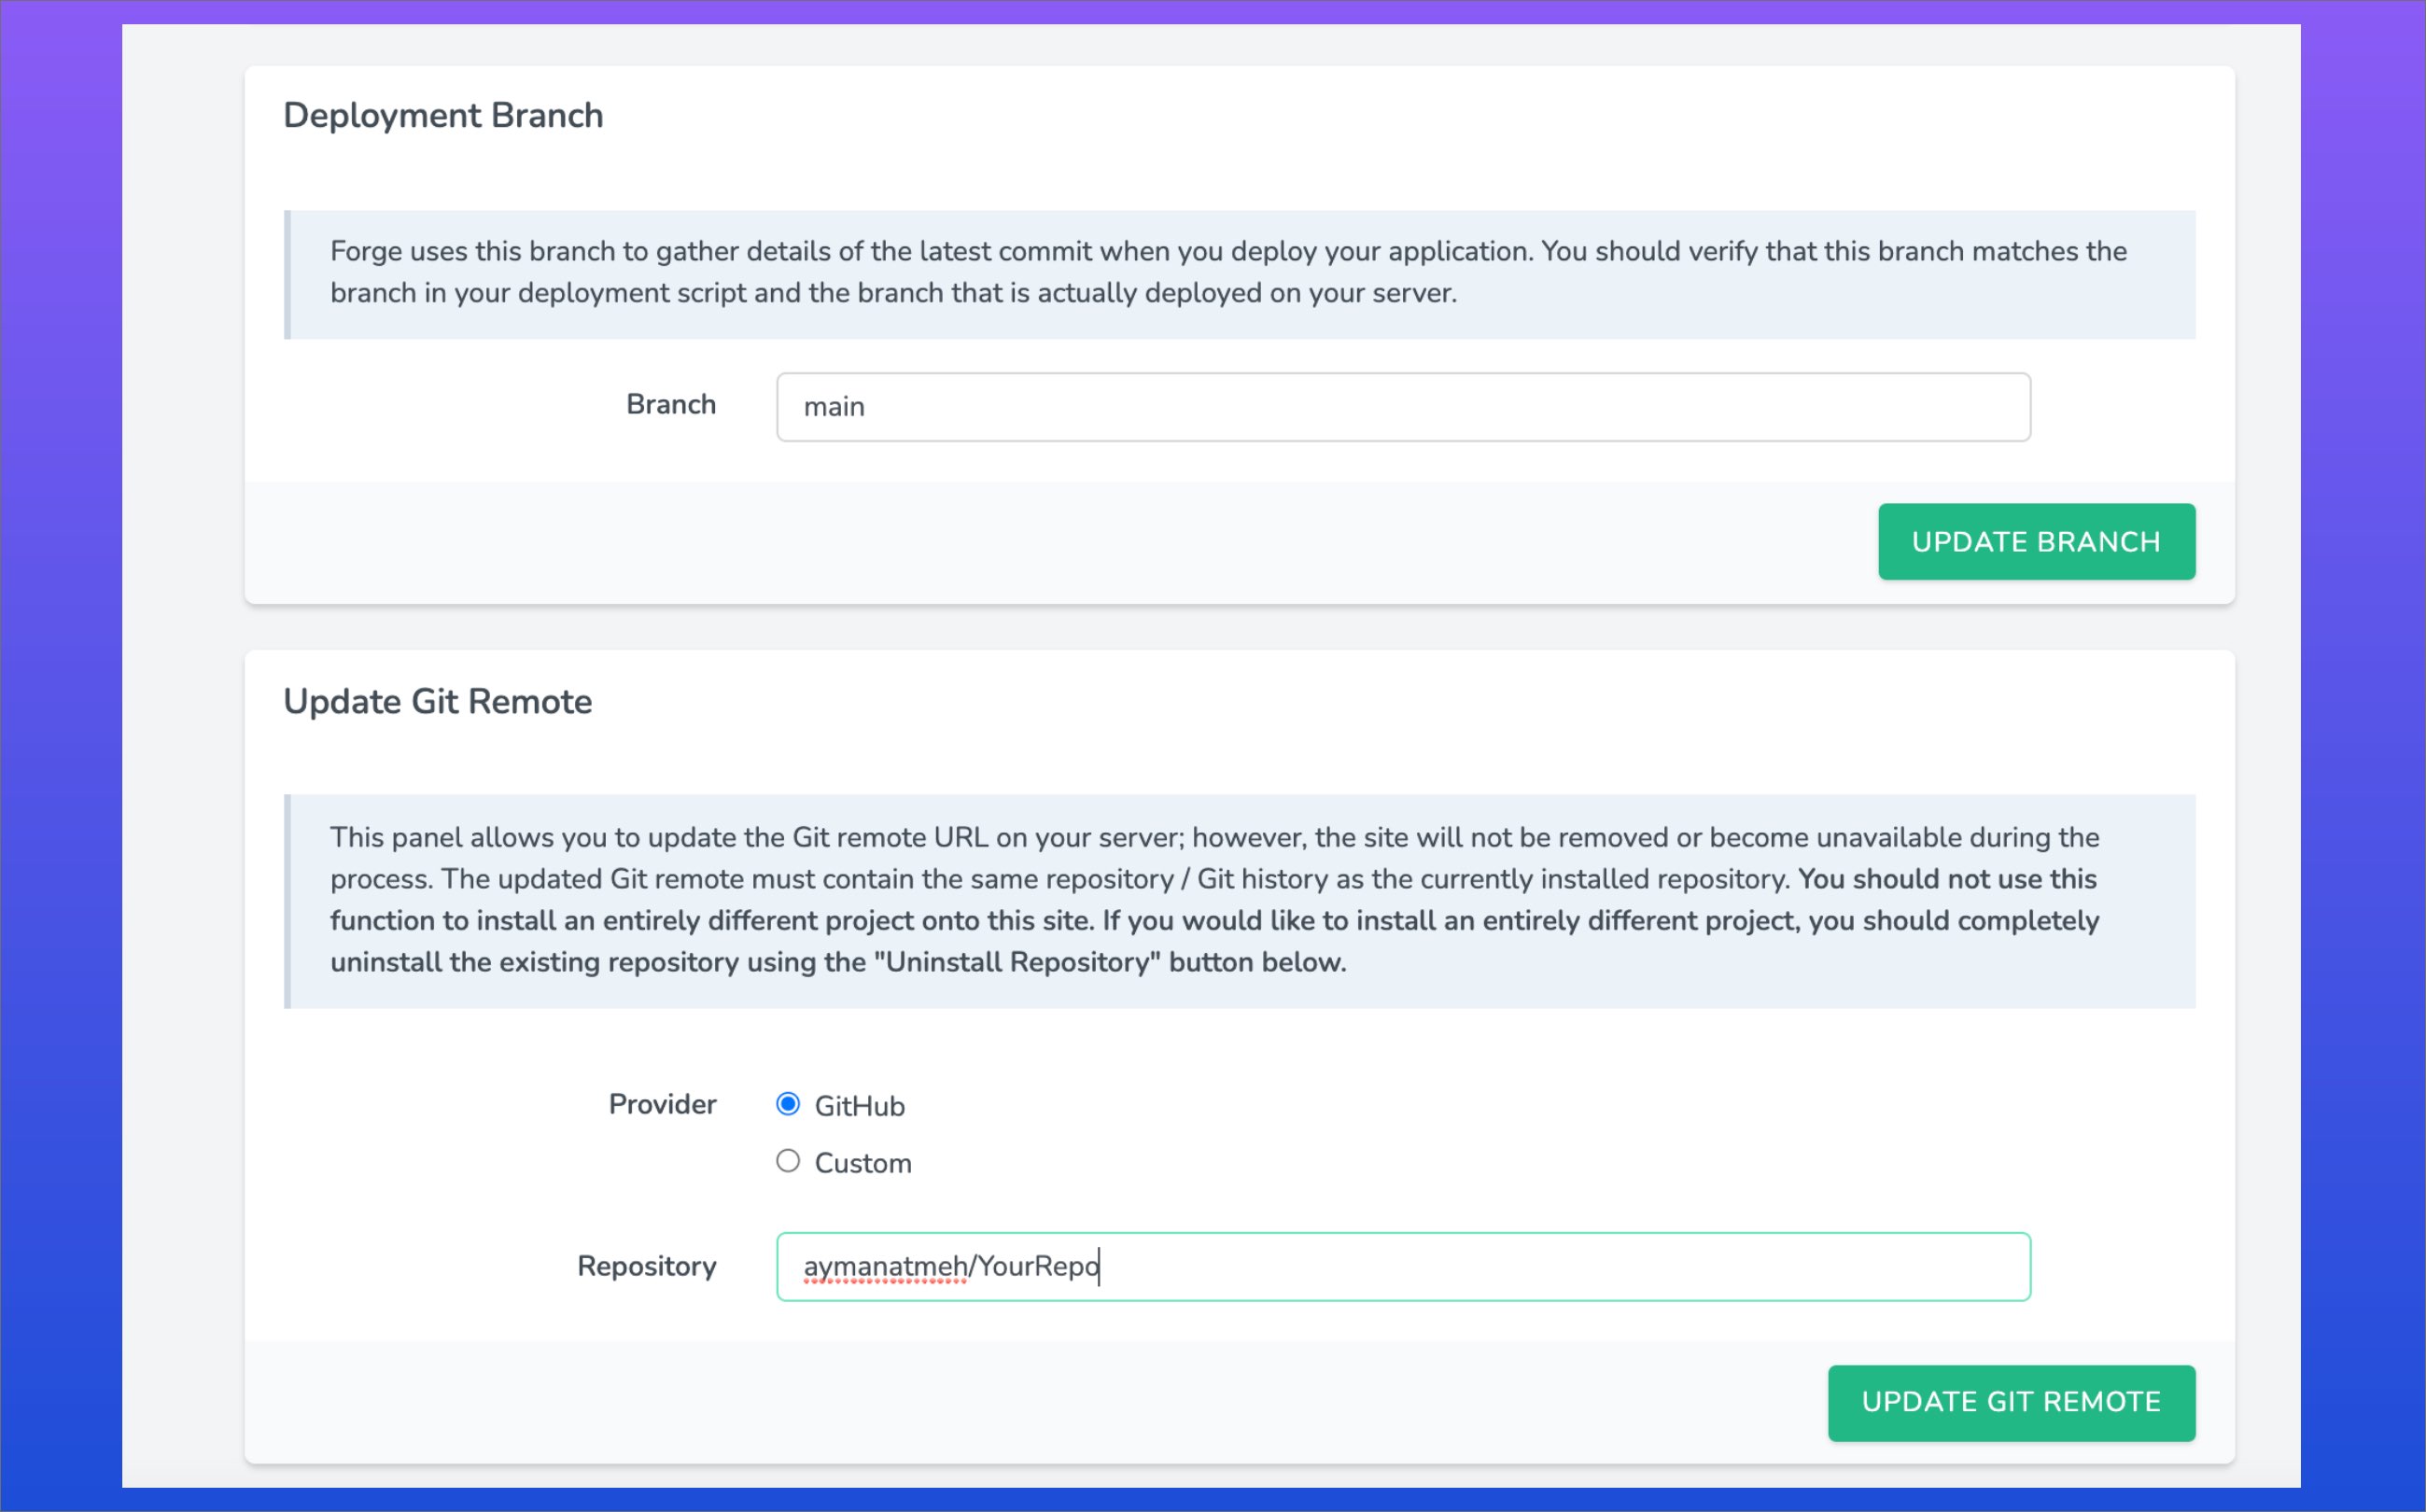
Make sure when you enter your Repository to provide the repository name. For GitHub, GitLab, and Bitbucket providers, you should provide the name in user/repository format
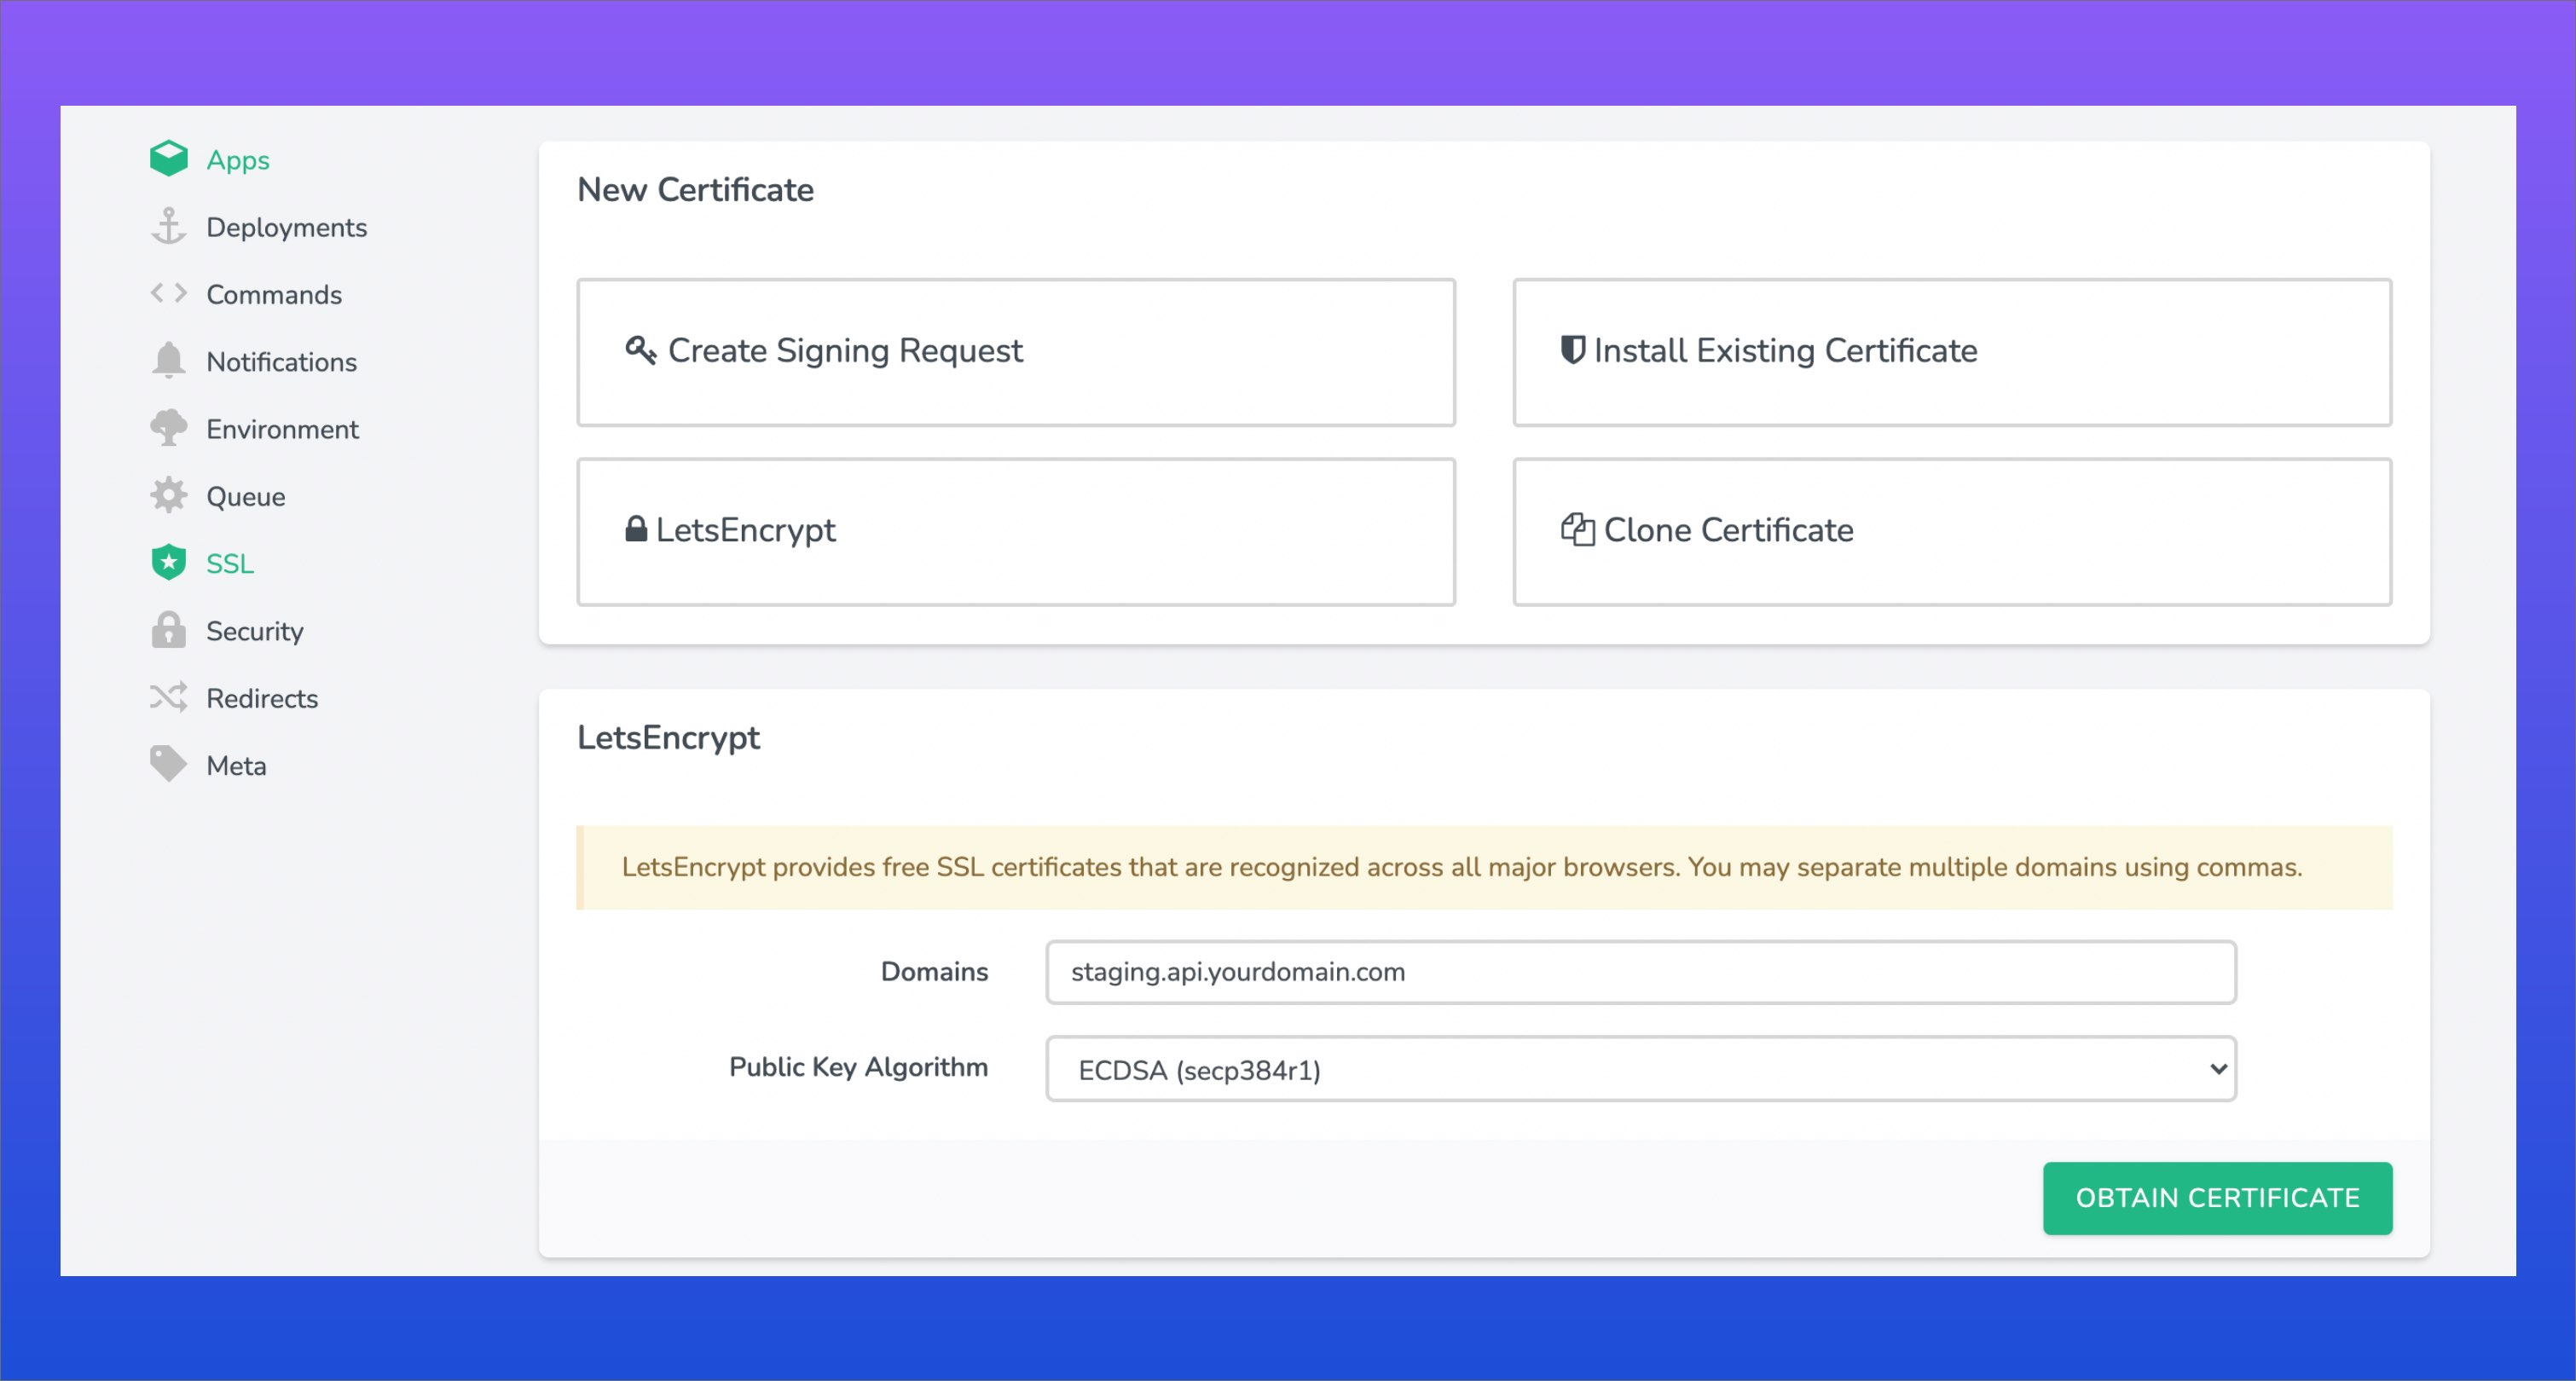
Create SSL Certificate
After creating your site navigate to SSL tab on site's side menu .
- Select your Certificate type , in this example we will use LetsEncrypt
- Enter Your site Domain i.e (staging.api.yourdomain.com)
- Click Obtain Cerificate
Define Your Site Environment
Navigate to Site's side menu and click on Environment
- copy your .env file content and paste it their.

Configure Ngnix
in your Apps tab scroll down to file button and select Edit Nginx Configuration
   location / {
      # example proxy_pass http://localhost:3333;
      proxy_pass http://localhost:<ADONIS_PORT>;
      proxy_http_version 1.1;
      proxy_set_header Upgrade $http_upgrade;
      proxy_set_header Connection 'upgrade';
      proxy_set_header Host $host;
      proxy_set_header X-Real-IP $remote_addr;
      proxy_set_header X-Forwarded-Proto $scheme;
      proxy_set_header X-Forwarded-For $proxy_add_x_forwarded_for;
      proxy_cache_bypass $http_upgrade;
    }
