Cleavr

Published on Tue Nov 02 2021
This guide covers the steps for deploying an AdonisJS application to your VPS using Cleavr .
Deploying an AdonisJS application is no different from deploying a standard Node.js application. You just have to keep a few things in mind:
- You build your TypeScript source to JavaScript, before deploying the app.
- You will have to start the server from the
buildfolder and not the project root. Same is true for running migrations any other Node.js apps.
You can build your project for production by running the following ace command. Learn more about the TypeScript build process
node ace build --production

# OR use the npm script
npm run build
Prerequisites
Cleavr provides a first-class experience for AdonisJS applications, so deploying your apps only takes only a few clicks. Before getting started, just make sure you have:
- An account set up with Cleavr
- A provisioned server
Step 1: Add an AdonisJS site
On your server in Cleavr, add a new AdonisJS site.
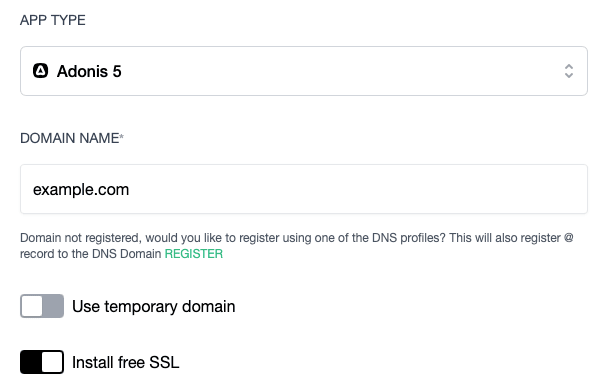
To save time, you can set up your database during the site creation step and the connection configs will automatically be added to the environment variables.
Step 2: Configure Web App
After the site has been successfully added to your server, navigate to the web app section to configure your app.
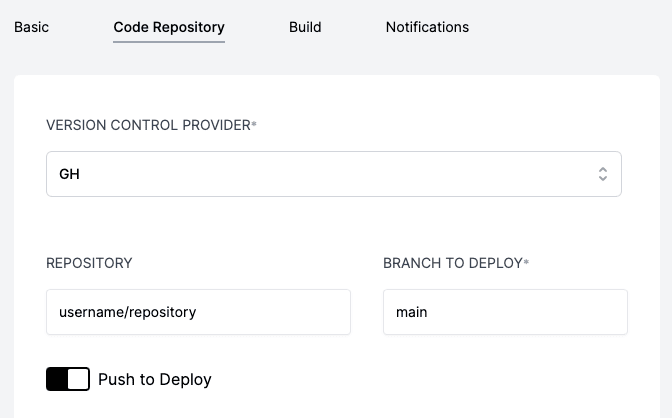
Connect repository
In Settings > Code Repository, connect your web app to the git repository that your code resides on.
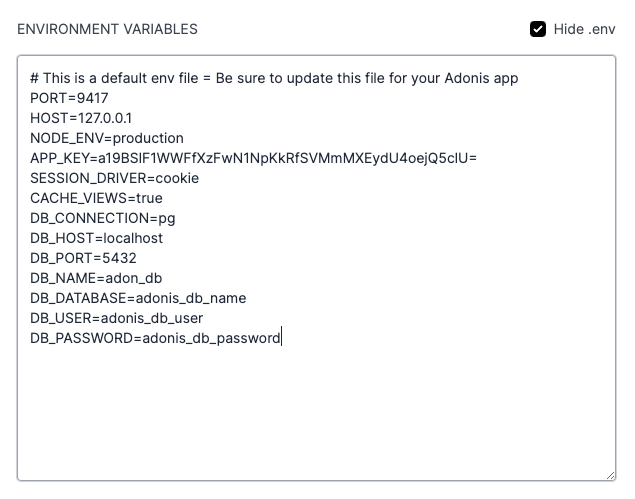
Configure environment variables
Cleavr adds default environment variables for your AdonisJS app. Configure any additional required variables.
Configure deployment hooks
A default set of deployment hooks are automatically added for your AdonisJS app, which will be enough for most projects. You may add additional deployment hooks for your needs.
If you included setting up a database while adding your AdonisJS site, the Migrate Database deployment hook will be enabled by default. You may disable the deployment hook after the initial deployment.
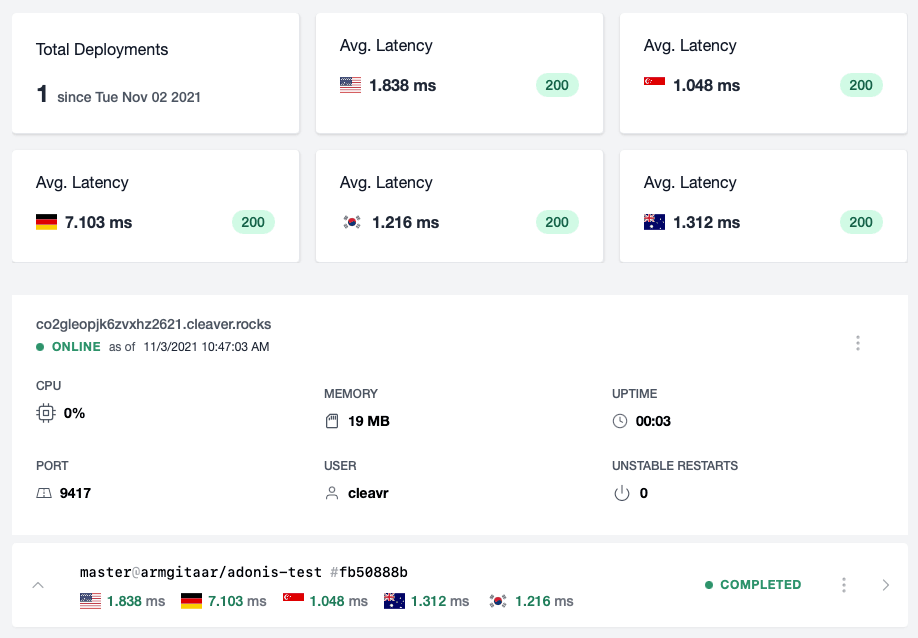
Step 3: Deploy your Web App
After you have completed configuring your web app, you can now deploy your project!
View the Cleavr Adonis deployment guide and the Cleavr Adonis troubleshooting guide for additional info.