Routing
The users of your website or web application can visit different URLs like /, /about or /posts/1. To make these URLs work, you will have to define them as routes.
Routes are usually defined (but not limited to) inside the start/routes.ts file using the Route module.
A typical route accepts the route pattern as the first argument and route handler as the second argument. For example:
import Route from '@ioc:Adonis/Core/Route'

Route.get('/', () => {
  return 'Hello world'
})
The route handler can also reference a controller method.
import Route from '@ioc:Adonis/Core/Route'

Route.get('posts', 'PostsController.index')
Default routes file
Conventionally the routes are registered inside the start/routes.ts file, which is then preloaded
by AdonisJS when booting the application. However, this is not a hard restriction, and you can keep your routes in a separate file as well.
Let's explore some different ways to structure and load routes from other files.
Imports inside the routes.ts file
One approach is to define your routes in different files as per your application structure and then import all those files inside the start/routes.ts file.
import 'App/Modules/User/routes'
import 'App/Modules/Cart/routes'
import 'App/Modules/Product/routes'
Register as a preload file
Another approach is to get rid of the routes file altogether and use a custom file path to register the routes. In this scenario, do make sure to register the path inside the .adonisrc.json file under the preloads array.
{
  "preloads": [
    "./start/routes",
    "./start/kernel",
    "add-path-to-your-routes-file"
  ]
}
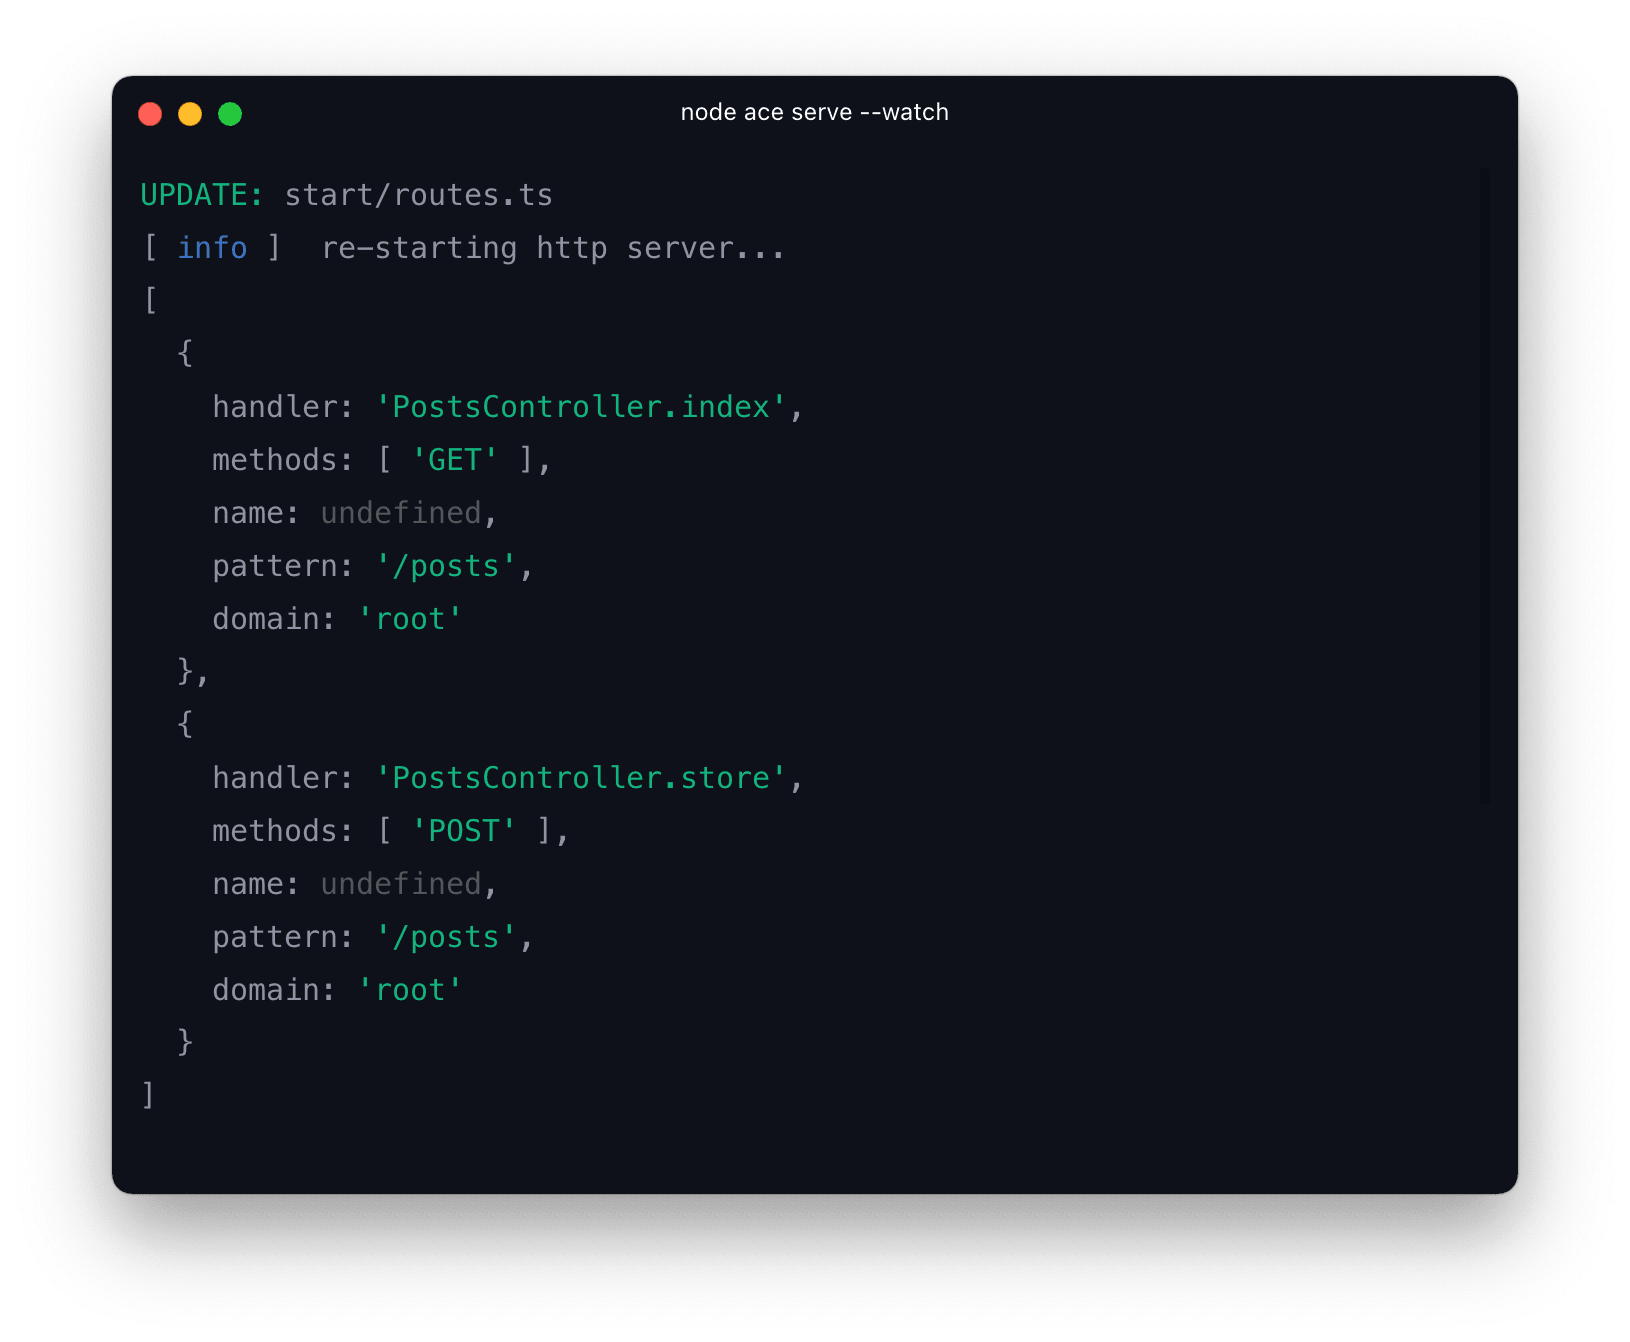
List routes
You can view the registered routes by running the following Ace command.
node ace list:routes
By default, the routes are pretty printed inside a structured table. However, you can also access them as JSON string by defining the --json flag.
node ace list:routes --json > routes.json
HTTP methods
AdonisJS provides shorthand methods to register routes for commonly used HTTP verbs. For example:
Get verb
Route.get('posts', async () => {})
Post verb
Route.post('posts', async () => {})
Put verb
Route.put('posts/:id', async () => {})
Patch verb
Route.patch('posts/:id', async () => {})
Delete verb
Route.delete('posts/:id', async () => {})
Rest of the HTTP verbs
For the rest of the HTTP verbs, you can use the Route.route method.
Route.route('/', ['OPTIONS', 'HEAD'], async () => {})
Route for all common HTTP verbs
The Route.any method registers the route to handle the request for all the following HTTP verbs.
- HEAD
- OPTIONS
- GET
- POST
- PUT
- PATCH
- DELETE
Route.any('csp-report', async () => {})
Route parameters
Route parameters provide a way to register URLs that can accept dynamic values as part of the URL.
A parameter always starts with a colon : followed by the name of the parameter. For example:
Route.get('/posts/:id', async ({ params }) => {
  return `Viewing post with id ${params.id}`
})
Optional params
Parameters can also be marked as optional by appending a question mark ? to the name. However, do make sure that the optional parameters come after the required parameters.
Route.get('/posts/:id?', async ({ params }) => {
  if (params.id) {
    return `Viewing post with id ${params.id}`
  }
  return 'Viewing all posts'
})
Wildcard parameters
You can also define a wildcard parameter using the * keyword. A wildcard param catches all the URI segments. For example:
Route.get('docs/*', ({ params }) => {
  console.log(params['*'])
})
| URL | Wildcard param |
|---|---|
/docs/http/introduction | ['http', 'introduction'] |
/docs/api/sql/orm | ['api', 'sql', 'orm'] |
You can also have named parameters alongside the wildcard parameter. However, do make sure that the wildcard param is after the named param.
Route.get('docs/:category/*', ({ params }) => {
  console.log(params.category)
  console.log(params['*'])
})
Params matchers
Param matchers allow you to validate the parameters against a given regular expression. If the check fails, the route will be skipped.
Consider the following example in which we want to look up a post by its id and slug both.
Route
  .get('/posts/:id', async ({ params }) => {
    return `Viewing post using id ${params.id}`
  })
  .where('id', /^[0-9]+$/)

Route
  .get('/posts/:slug', async ({ params }) => {
    return `Viewing post using slug ${params.slug}`
  })
  .where('slug', /^[a-z0-9_-]+$/)
- The requests passing a numeric id to the
/postsURL will be forwarded to the first route. For example:/posts/1or/posts/300 - Whereas the request matching the slug regex will be forwarded to the second route. For example:
/posts/hello_worldor/posts/adonis-101. - A 404 is returned when unable to find a match.
You can also define params matchers globally using the Route.where method. The global matchers are applied to all the routes unless overridden specifically at the route level.
Route.where('id', /^[0-9]+$/)
Params casting
Parameters part of the URL are always represented as a string. For example: In the URL /posts/1, the value 1 is a string and not a number since there is no direct way to infer data types for the URI segments.
However, you can manually cast the params to their actual JavaScript data type by defining a cast property with the param matcher.
It is a good practice to validate the param using the match property when using the cast function.
Route
  .get('posts/:id', 'PostsController.show')
  .where('id', {
    match: /^[0-9]+$/,
    cast: (id) => Number(id),
  })
Inbuilt matchers
The route module ships with the following inbuilt matchers for commonly used data types.
// Validate id to be numeric + cast to number data type
Route.where('id', Route.matchers.number())

// Validate id to be a valid uuid
Route.where('id', Route.matchers.uuid())

// Validate slug to match a given slug regex: regexr.com/64su0
Route.where('slug', Route.matchers.slug())
URL generation
The APIs for URL generation raises an exception when unable to look up a route.
Instead of hardcoding the URLs everywhere in your app, you can leverage the URL generation API to generate URLs for pre-registered routes. For example:
Route.get('/users/:id', 'UsersController.show')

// Positional arguments
const url = Route.makeUrl('/users/:id', [1])

// Named object keys
const url = Route.makeUrl('/users/:id', { id: 1 })
You can also make use of the Controller.method name to reference the route.
const url = Route.makeUrl('UsersController.show', { id: 1 })
Or use the route's unique name as a reference.
Route
  .get('/users/:id', 'UsersController.show')
  .as('showUser') // 👈 Route name

// Generate URL
const url = Route.makeUrl('showUser', { id: 1 })
Append query string
You can append a query string to the generated URLs by passing a third argument to the makeUrl method.
const url = Route.makeUrl('showUser', [1], {
  qs: {
    verified: true,
  },
})
Lookup inside a domain
Since AdonisJS allows you to register routes for different domains, you can limit your makeUrl search for a specific domain as well.
Route
  .get('/users/:id', 'UsersController.show')
  .domain(':tenant.adonisjs.com')

// Make URL
const url = Route.makeUrl('UsersController.show', [1], {
  domain: ':tenant.adonisjs.com',
})
Prefix a domain
The generated URLs are always relative paths without any domain name. However, you can define one using the prefixUrl property.
const url = Route.makeUrl('UsersController.show', [1], {
  prefixUrl: 'https://foo.com',
})
URL builder
URL builder is an alternative to the makeUrl method and provides a fluent API to make the URLs.
const url = Route.builder()
  .params({ id: 1 })
  .qs({ verified: true })
  .prefixUrl('https://foo.com')
  .make('UsersController.show')
Make for a domain
const url = Route.builderForDomain(':tenant.adonisjs.com')
  .params({ id: 1 })
  .qs({ verified: true })
  .prefixUrl('https://foo.com')
  .makeUrl('UsersController.show')
URL generation within views
You can use the route helper inside your template files to generate the URLs. The route has the same API as the makeUrl method.
Route.post('posts', 'PostsController.store').as('posts.create')
<form method="POST" action="{{ route('posts.create') }}">
</form>
URL generation during redirects
You can also generate a URL to a pre-registered route when redirecting the request. The redirect().toRoute() has the same API as the makeUrl method.
Route
  .get('/users/:id', 'UsersController.show')
  .as('users.show')
Route.post('users', async ({ response }) => {
  // Create user
  response.redirect().toRoute('users.show', { id: user.id })
})
Routing for SPA
The flow may look as follows when serving a SPA from the same routing layer as your AdonisJS app.
- The first request hits the AdonisJS application.
- You load an HTML layout with your front-end scripts and styles.
- From there on, the routing and rendering are handled by a front-end framework.
With this flow in place, you would want AdonisJS always to load the same HTML file regardless of the URL, as routing logic is placed inside a front-end application.
You can achieve this result by defining a wildcard route.
Route.get('*', async ({ view }) => {
  return view.render('app')
})

// Shorter version
Route.on('*').render('app')
All other AdonisJS specific routes (maybe your API) should be defined above the wildcard route.
Route.get('/api/users', 'UsersController.index')
Route.get('/api/posts', 'PostsController.index')

// SPA route
Route.on('*').render('app')
Or better group the API routes with the /api prefix.
Route.group(() => {
  Route.get('/users', 'UsersController.index')
  Route.get('/posts', 'PostsController.index')
}).prefix('/api')

// SPA route
Route.on('*').render('app')
Route groups
AdonisJS provides a great way to group multiple routes of similar nature and bulk configure them instead of re-defining the same properties on every route.
A group is created by passing a closure to the Route.group method. Routes declared inside the closure are part of the surrounding group.
Route.group(() => {
  // All routes here are part of the group
})
You can also create nested groups, and AdonisJS will merge or override properties based upon the behavior of the applied setting.
Prefix routes
All of the following routes inside the group closure will be prefixed with the /api string.
Route
  .group(() => {
    Route.get('/users', 'UsersController.index')
    Route.get('/posts', 'PostsController.index')
  })
  .prefix('/api')
In the case of nested groups, the prefix will be applied from the outer to the inner group.
Route.group(() => {
  Route.group(() => {
    Route.get('/users', 'UsersController.index') // /api/v1/users
    Route.get('/posts', 'PostsController.index') // /api/v1/posts
  }).prefix('/v1')
}).prefix('/api')
Apply middleware
You can apply middleware to a group of routes by using the .middleware method. The group middleware are executed before the route's middleware.
Route.group(() => {
  Route.get('users', async () => {
    return 'handled'
  }).middleware('can:view_users')
}).middleware('auth')
Naming routes
Naming a group will prefix all its routes with the given name. For example:
// Named as users.index, users.store and so on
Route.resource('users', 'UserController')

Route
  .group(() => {
    // Named as api.users.index, api.users.store
    Route.resource('users', 'UserController')
  })
  .prefix('v1')
  .as('api')
Route domains
Using the route module, you can also define routes for a specific domain or a subdomain. In the following example, the routes will only match if the current request hostname
is blog.adonisjs.com.
You still have to configure your proxy server to handle requests for the registered subdomains and forward them to your AdonisJS server.
Route
  .group(() => {
    Route.get('/', 'PostsController.index')
    Route.get('/:id', 'PostsController.show')
  })
  .domain('blog.adonisjs.com')
The domains can be also accept dynamic parameters. For example, a domain that accepts the tenant subdomain.
Route
  .group(() => {
    Route.get('/', ({ subdomains }) => {
      console.log(subdomains.tenant)
    })
  })
  .domain(':tenant.adonisjs.com')
Brisk routes
Brisk routes are defined without any explicit route handler. You can think of them as a shortcut for certain behaviors.
render
In the following example, we render the welcome view by chaining the .render method.
Route.on('/').render('welcome')
The .render accepts the template data as the 2nd argument.
Route.on('/').render('welcome', { greeting: 'Hello world' })
redirect
The .redirect method redirects the request to the pre-defined route. It will use the route params from the actual request to make the redirect route's URL.
Route.on('/posts/:id').redirect('/articles/:id')

// Inline params
Route.on('/posts/:id').redirect('/articles/:id', { id: 1 })

// Custom status
Route.on('/posts/:id').redirect('/articles/:id', undefined, 301)
redirectToPath
To redirect to an absolute URL, you can make use of the redirectToPath method.
Route.on('/posts/:id').redirectToPath('https://medium.com/my-blog')

// Custom status
Route.on('/posts/:id').redirectToPath('https://medium.com/my-blog', 301)
Access registered routes
You can access the registered routes by calling the Route.toJSON method. However, calling this method inside the routes file returns an empty array because the routes are compiled just before starting the HTTP server.
You can run the Route.toJSON() method inside a middleware, controller or the service providers start method. The rule of thumb is to avoid accessing routes before the HTTP server is ready.
import { ApplicationContract } from '@ioc:Adonis/Core/Application'

export default class AppProvider {
  public static needsApplication = true
  constructor(protected app: ApplicationContract) {}

  public async ready() {
    const Route = this.app.container.use('Adonis/Core/Route')
    console.log(Route.toJSON())
  }
}
Extending Router
The Router is a combination of multiple classes can add custom properties/methods to all the classes using the macros or getters.
The best place to extend the Router is inside the boot method of a custom service provider. Open the providers/AppProvider.ts file and write the following code inside it.
import { ApplicationContract } from '@ioc:Adonis/Core/Application'

export default class AppProvider {
  public static needsApplication = true

  constructor(protected app: ApplicationContract) {}

  public async boot() {
    const Route = this.app.container.use('Adonis/Core/Route')

    Route.Route.macro('mustBeSigned', function () {
      this.middleware(async (ctx, next) => {
        if (!ctx.request.hasValidSignature()) {
          ctx.response.badRequest('Invalid signature')
          return
        }

        await next()
      })

      return this
    })
  }
}
In the above example, we have added the mustBeSigned method to the Route class, which internally registers a middleware to verify the request signature
.
Now, open the start/routes.ts file to use this method.
Route
  .get('email/verify', 'OnboardingController.verifyEmail')
  .mustBeSigned()
Informing TypeScript about the method
The mustBeSigned property is added at the runtime, and hence TypeScript does not know about it. To inform the TypeScript, we will use declaration merging
and add the property to the RouteContract interface.
Create a new file at path contracts/route.ts (the filename is not important) and paste the following contents inside it.
declare module '@ioc:Adonis/Core/Route' {
  interface RouteContract {
    mustBeSigned(): this
  }
}
Extending route resource
You can extend the RouteResource class as follows:
Route.RouteResource.macro('yourMacroName', fn)
declare module '@ioc:Adonis/Core/Route' {
  interface RouteResourceContract {
    yourMacroName(): this
  }
}
Route.resource().yourMacroName()
Extending route group
You can extend the RouteGroup class as follows:
Route.RouteGroup.macro('yourMacroName', fn)
declare module '@ioc:Adonis/Core/Route' {
  interface RouteGroupContract {
    yourMacroName(): this
  }
}
Route.group().yourMacroName()
Extending brisk route
You can extend the BriskRoute class as follows:
Route.BriskRoute.macro('yourMacroName', fn)
declare module '@ioc:Adonis/Core/Route' {
  interface BriskRouteContract {
    yourMacroName(): this
  }
}
Route.on('/').yourMacroName()
Additional reading
Following are some of the additional guides to learn more about the topics not covered in this document.